A useful Kakobuy workflow for international buyers is not a single click from a product image to a shipping label. It is a chain of small evidence-based decisions: define a need, verify a listing, compare measurements, record seller details, prepare a QC request, and then judge a parcel as a whole. That sequence makes it easier to notice a changed option or a poor fit before it becomes an expensive international shipping problem.
Use this guide as a research framework, not as a promise about a particular product, route, carrier, or delivery time. Product information can change, and every destination has its own restrictions and costs. The useful habit is to keep a concise record of what you selected and why. A saved URL, a variation note, a measurement target, and a dated QC checklist are far more useful than relying on memory after several items have reached a warehouse.
Start with a purpose-built research shortlist
Before opening many links, decide what the parcel is meant to accomplish. It might be a seasonal wardrobe refresh, a replacement for a worn item, or a small set of products that travel well together. Give each candidate one job: daily shoe, mid-layer, shirt, outer layer, compact bag, or trouser. A product without a clear role is often an impulse that later competes for budget, parcel space, and attention during QC.
For every Kakobuy candidate, save the exact detail-page URL, visible title, category, colour or variation, and the date you checked it. Then make a short seller record. Note whether the seller page shows a usable size chart, several consistent photos, material information, and clear option labels. Seller details are not just a way to rank products; they tell you which questions must be resolved before the order can enter an agent route. When information is incomplete, mark it as incomplete instead of silently guessing.
Keep the shortlist small. One primary choice and one backup for an important category is usually enough. Backups should solve the same practical need and have comparable measurements, rather than merely looking similar in a thumbnail. This prevents an international buyer workflow from becoming an unreviewed collection of random links. It also makes it easier to replace a sold-out option without rebuilding the complete plan.
Compare sizing, listing evidence, and seller details
Size labels cannot carry the decision by themselves. Measure a garment or shoe you already use comfortably, then compare the relevant dimensions with the seller chart. For tops and jackets, record chest width, shoulder width, body length, and sleeve length. For trousers, note the measurement method for waist, rise, thigh, inseam, and hem. For shoes, compare a seller-specific internal-length note with your foot measurement and a pair you already wear. Bags should be checked for external dimensions, strap drop, closure type, and storage layout.
Write measurements in centimetres and name the method. A flat chest width is not the same as a body circumference, while an outsole length is not automatically an internal shoe length. If the seller page does not define a measurement, treat the number as uncertain. A careful buyer either asks a specific question through the available route or keeps a better documented alternative. This is more effective than selecting a familiar letter size and hoping that cut, fabric shrinkage, or layering allowance will work out.
Listing photos are evidence, not decoration. Look across multiple photos for repeated details such as stitching lines, pocket placement, logo position, sole shape, hardware finish, and colour blocking. If a description and image disagree, keep a note of the conflict. An agent workflow is strongest when the future QC request can name the exact feature that must be checked rather than asking for a vague confirmation that an item looks good.
Use a simple confidence note for each listing: confirmed, partly confirmed, or unresolved. Confirmed means the product type, variation, usable measurement information, and the main visible details agree with your plan. Partly confirmed means the listing is promising but one decision still depends on a clearer seller detail or later warehouse measurement. Unresolved means the page has changed, the chart is unclear, or the selected option cannot be identified. This small classification prevents a long product board from looking more certain than it is.
Price should be noted alongside evidence, not in place of it. A lower price can still create a poor outcome if the fit information is missing, the variation is ambiguous, or the item creates unnecessary parcel volume. Conversely, a well documented option may be easier to evaluate through the complete agent route. Record a budget range and compare the final decision with expected shipping weight, not only with the number shown beside the listing.
Build a QC plan before the order reaches the warehouse
QC means quality control, but the useful version is specific to the item and to your saved notes. Start with identity checks: product model, selected variation, visible size label, quantity, and overall colour. Then add category-specific checks. A shoe can need internal length, pair symmetry, sole construction, and upper alignment. A hoodie may need a chest measurement, print placement, cuff shape, seam condition, and fabric appearance. A bag can need its width and height, strap attachment, zipper pull, interior pockets, and hardware finish.
When warehouse photos are available, inspect the complete item first. Confirm that it resembles the listing you chose before concentrating on close-ups. Next compare your saved measurement target and visual checkpoints. Lighting differences can alter colour, but a missing detail, a wrong option, an incompatible measurement, or an obvious construction issue should be recorded clearly. Ask for an additional image or measurement only when it will answer one defined question. Specific requests are easier for warehouse staff to interpret and easier for you to evaluate later.
Do not confuse a clear QC photo with a final shipping approval. QC confirms what reached the warehouse; it does not calculate the effect of bulky packaging, fragile parts, seasonal weather, destination rules, or parcel value. Keep the QC decision attached to the same record as your original link and seller details so you can explain why an item stayed in the plan or why it was replaced.
Use the agent route to plan one coherent parcel
An agent route should preserve the evidence gathered during research. Send the exact product link, selected variation, measurements to verify, and brief QC notes together. For several products, make a simple parcel list showing estimated category, rigidity, fragility, and likely volume. A shoe box, thick outerwear, structured bag, or heavy hardware can change the shipping calculation more than an inexpensive product price suggests. Planning these factors early lets you decide whether packaging should be retained, reduced, or separated according to the options available for your destination.
Review shipping as a parcel-level decision. Check the destination, available services, expected delivery window, insurance choices, packaging options, and any applicable restrictions before approval. The lowest displayed product price is not necessarily the lowest landed cost when freight, volumetric weight, taxes, or repacking are considered. Avoid making promises about carrier performance; instead, compare the current information offered through your chosen route and leave room for delays or changing rules.
Keep your documentation until delivery. Save the final item list, parcel weight or dimensions when provided, QC images, shipping selection, and tracking reference. That record helps with future planning because it shows which categories consumed space, which measurements worked, and which seller pages gave useful information. It also makes the next Kakobuy shortlist faster without encouraging you to reuse an unchecked old link.
Six Outfitreps examples for a complete workflow
The six detail pages below provide a cross-category research exercise for an international buyer workflow. They are not automatic purchase recommendations. Open each current Outfitreps page, inspect its available information, and decide whether it supports your own fit, budget, destination, and parcel plan. Each image and button opens the corresponding product-detail page.

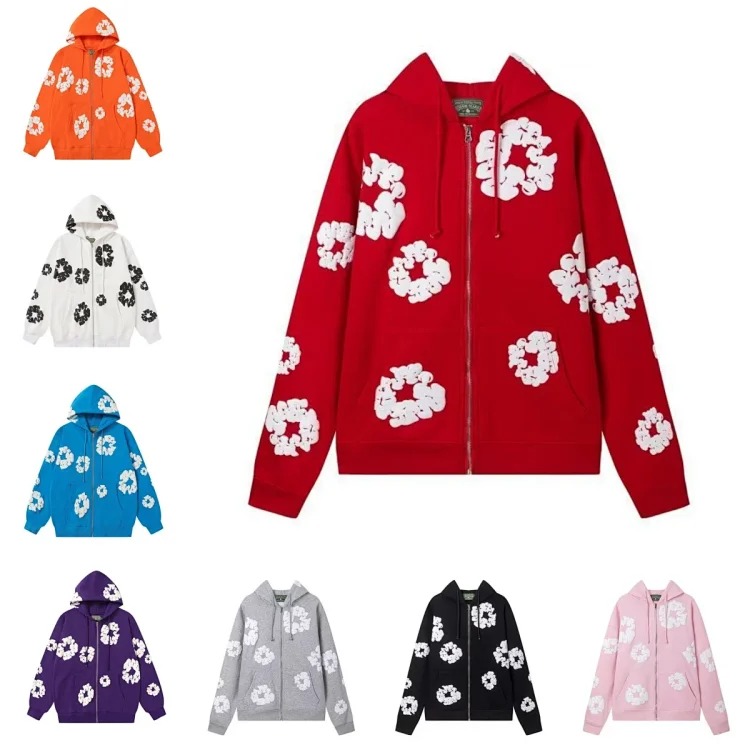
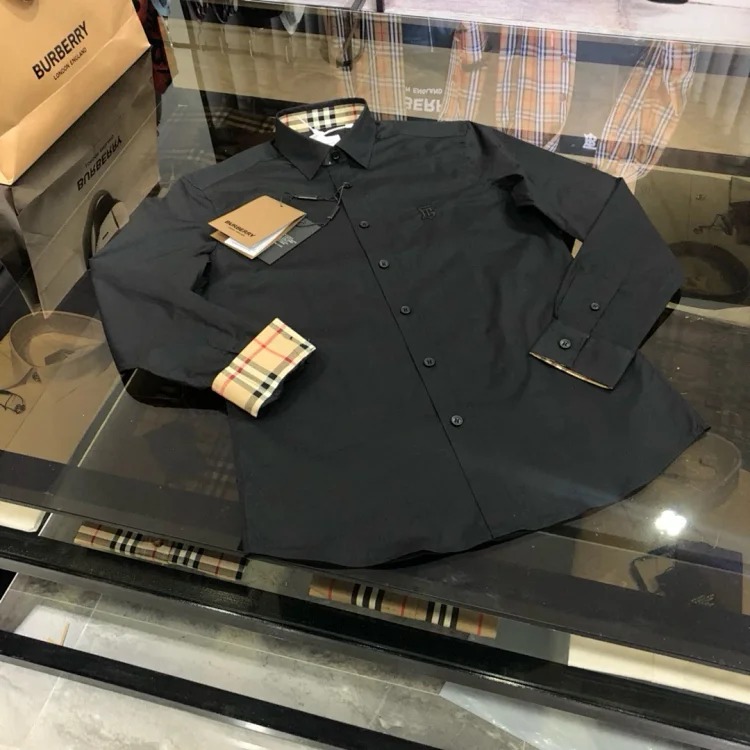
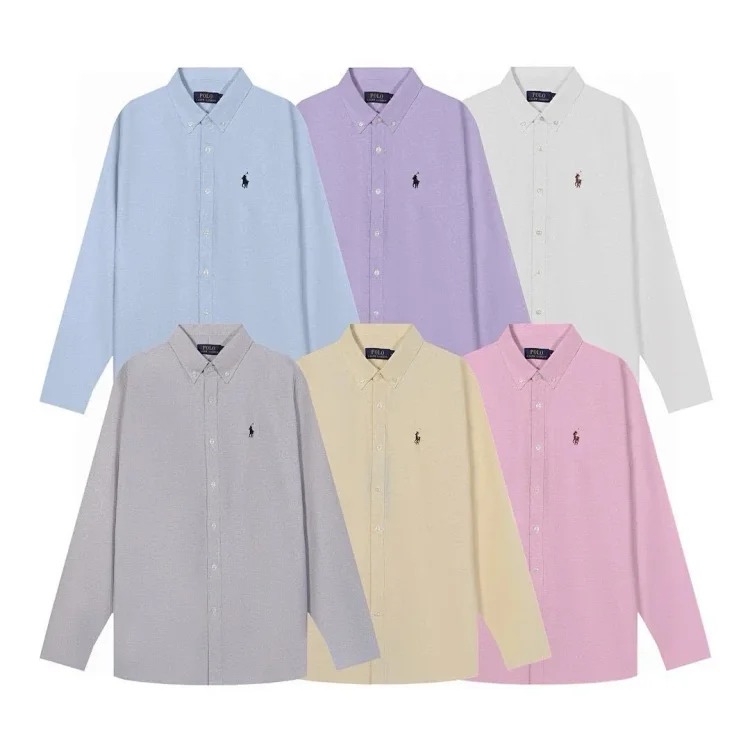

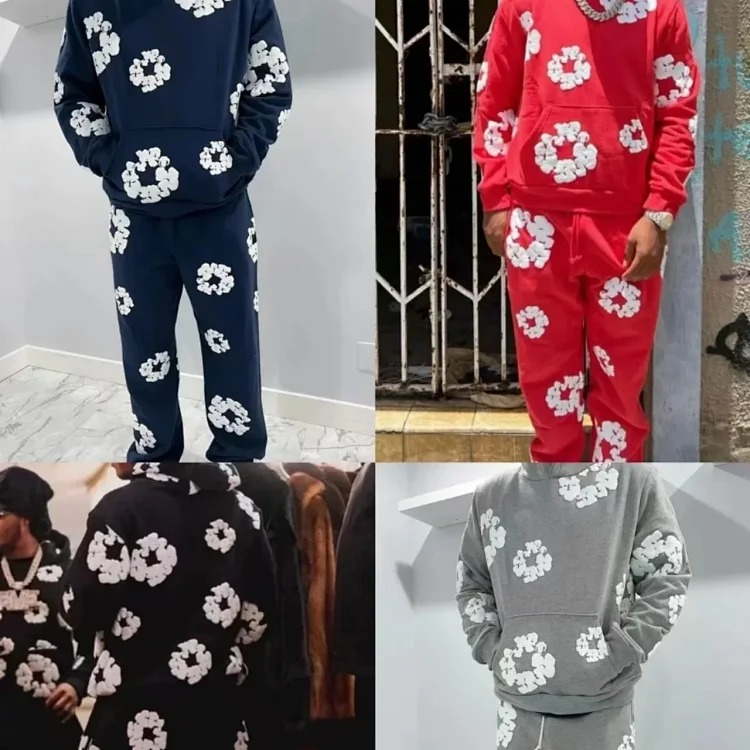
Use the shoe example to practise internal-length and box-volume notes. Use the hoodie, shirt, and jacket examples to compare flat measurements with a garment you own and to plan layered fit. Use the bag to identify hardware and dimensions for QC, then use the trousers to record waist method, rise, inseam, and hem. The categories differ, but the workflow stays consistent: record evidence, write QC questions, and consider how each item changes the complete parcel.
Continue through the Kakobuy Best Links Index, browse the product category index, follow the link check guide, and read the related Kakobuy shipping-cost planning guide. For current alternatives, browse all Outfitreps products.